I Finished My Commodore 64 Synthesizer
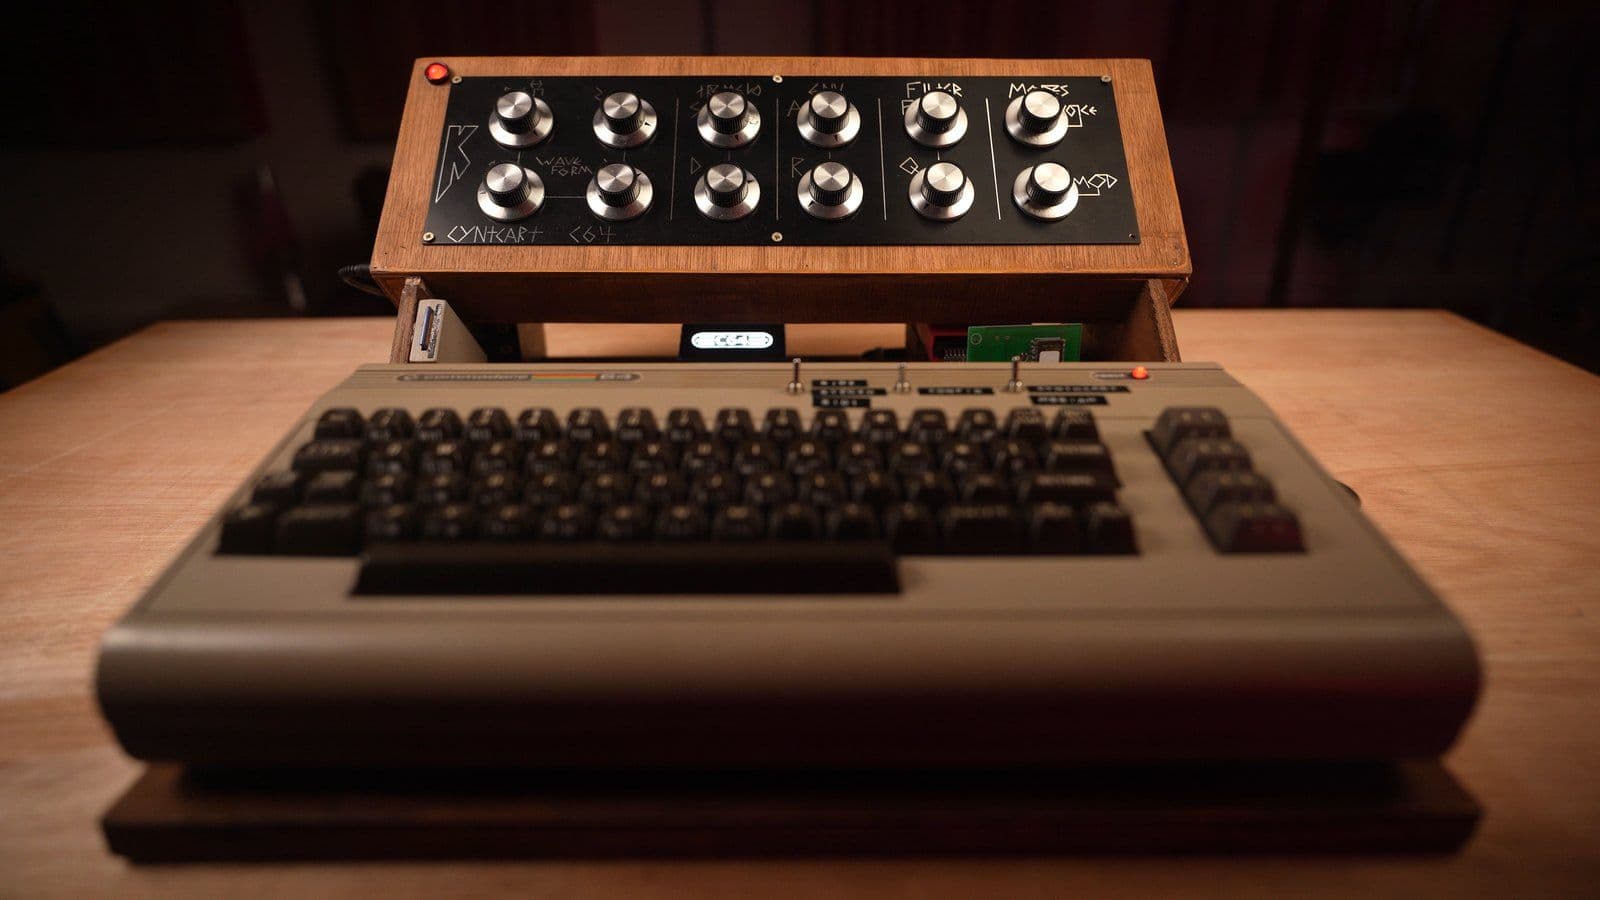
It's finished. After seven episodes, my Commodore 64 synthesizer is done — and it came out better than I imagined.
Quick recap for anyone joining late. I bought a Commodore 64 some time ago with the idea of turning it into a real instrument. I went to Sam at Look Mum No Computer, who built me the control panel. Then I put that beautiful panel inside an ugly functional box, which worked perfectly and destroyed the look of the C64 completely.
So this episode is about giving it a proper home. And then repairing something I thought was dead.
One thing before we start, though. You don't have to build one of these to play one — the whole instrument now runs in your browser, for free. It's called SIDMIX, and it's a Doctor Mix × Look Mum No Computer tribute running on Paul Slocum's Cynthcart. Go and have a play, then come back and I'll show you how the real one got finished.
Building it a real enclosure
The plan: a detachable wooden box for Sam's panel, built from scratch.
I measured the panel at a clean 40cm and gave myself a little either side. The number I landed on was 44.5cm, and that's not arbitrary — it means the finished thing will fit in a rack if I ever want it to. Front and back panels, then sides.

A word of warning that I'll repeat because I mean it: do not try this at home. The table saw will take your finger and possibly your arm. I've built four studios in my life and I still treat that machine with enormous respect. Vacuum connected, everything measured twice, ear protection on before the grinder comes out.
The joinery is a thin angle profile at each corner, epoxy, and some very fine nails — fine, because anything thicker splits the wood open. A tip worth having: isopropyl alcohol removes epoxy, as long as you don't leave it to set first. Clamp it, wipe the squeeze-out, move on quickly.
Then the cutting for the panel itself. My first plan didn't work. The jigsaw did, followed by the grinder — and yes, there were sparks. There was also one moment where I cut a piece the wrong way round, called myself a freaking idiot on camera, and did it again properly. That stays in.

Holes in the side for power and for MIDI, a coat of Osmo oil all over, and it's done. It fits like a glove.

Are you a DIY person?
I want to make a case for this, briefly.
I am nowhere near as good at this as Sam is. I still give it a go, because it's fun, it's relaxing, it's a way of caring for your instruments, and above all it's real. It's tangible. I think we have quite enough virtual around at the moment. We could do with more things you can hold.
Two SID chips, one repair
Now the part I'm proudest of.
This machine has two SID chips in it, and only number two was working. Selecting SID one gave me nothing at all — completely dead.
So I repaired it. Which means there are now two vintage SID chips running at the same time, one hard left and one hard right. And this is not a stereo effect. It is literally two synthesizers playing on two different channels, each with its own character, and you can hear the difference between them when you solo them.

On the scope you can see both at once — SID two on one side, SID one on the other. Play with the phase between them and it does something no plugin does, because they genuinely are two different chips with two different personalities. Play them with identical settings and they lock together perfectly.

What this project actually taught me
Somewhere in the middle of this I learned to use an oscilloscope properly. Then I built a MIDI tester — a processor, a screen, three wires, and a chip that reads the incoming data. That's it. It tells me exactly what's coming out of any knob I turn.
And that led to the realisation that has genuinely changed how I look at my studio. Every piece of equipment I own is a combination of these same pieces. The same screen. The same kind of processor. That screen cost me twelve pounds — I could buy three of them for the price of one boutique anything.
The code used to be the barrier. It isn't any more, because I can get help with that. I modified the firmware so the display now says DOCTOR MIX across the top instead of the name it shipped with, and I made a handful of other changes to make it behave exactly how I wanted.
Being able to dominate your own electronics is an amazing feeling. I'll leave links to everyone who helped and taught me along the way — please go and give them some love, because this thing exists because of them.
Playing it
Once it's running you can switch modes from the panel — mono, a second mono mode, mono B1, arpeggiator — and see which one you're in on the top left of the screen. The filter is under your fingers. The pulse width control does exactly what you'd hope: that's the duty cycle, how long the wave spends on the up side versus the down side, and you can push it until the sound almost disappears. Then modulate it and let it move on its own.
And there's a free one you can play right now
I've also built a virtual version of it on the website, and it's free. It's called SIDMIX — a Doctor Mix × Look Mum No Computer tribute, powered by Paul Slocum's Cynthcart.
It's the same instrument, laid out the same way, and you can play it and even record with it. Right now it's mono, and it is very beta — almost alpha, if I'm honest. But it's there.
What's next
One more thing arrived: the new Commodore 64. It turns out Commodore are making them again, and my friend Chris Blyth is involved in the project. He pointed out that I couldn't very well do a Commodore 64 series without trying it.
So that's the next episode. From this build and this whole operation I've learned an enormous amount — and I hope you have too.
Tell me what I should take on next. I have a serious thirst for electronics right now.